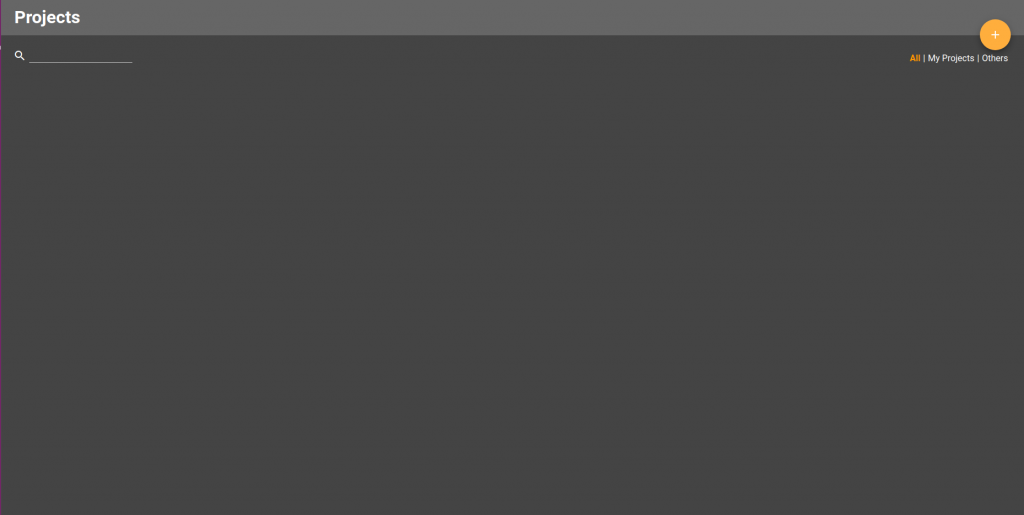
This tutorial will teach you how to create a project in MaxusAI. To begin you need to be logged into your MaxusAI account. Once logged in you will be greeted with the following screen.
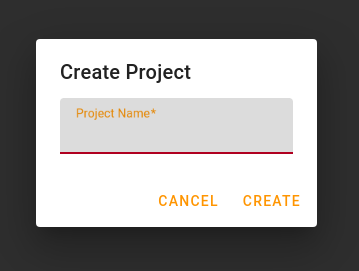
To create a project click the large orange plus button in the top right corner. This will cause the following prompt to be shown.
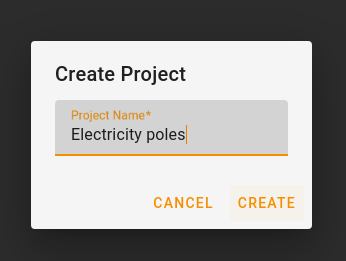
To name your project enter your desired name in the text field provided. Once you’ve done this just click the create button to confirm the creation of your project.
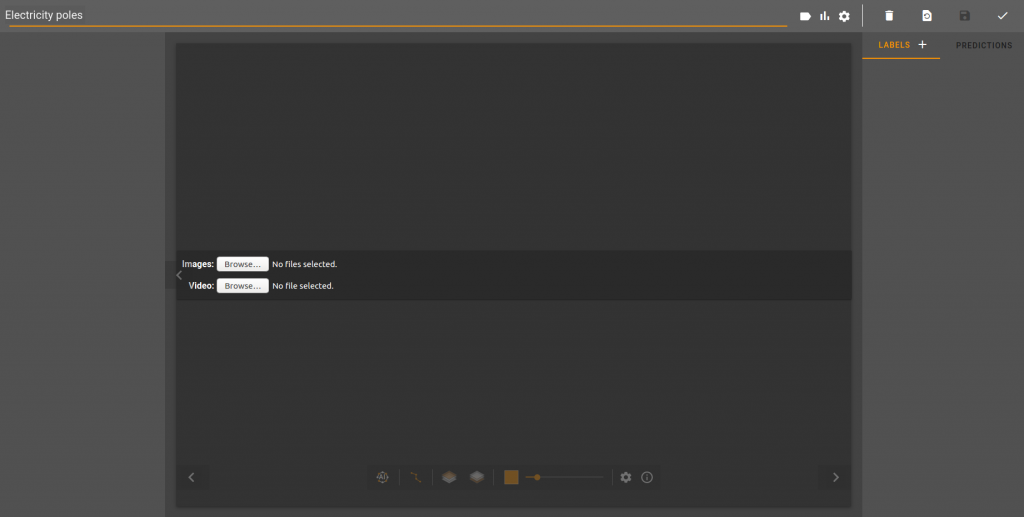
When your project has been created you will be shown the labelling tool.
Congratulations you’ve successfully created your first project in MaxusAI!