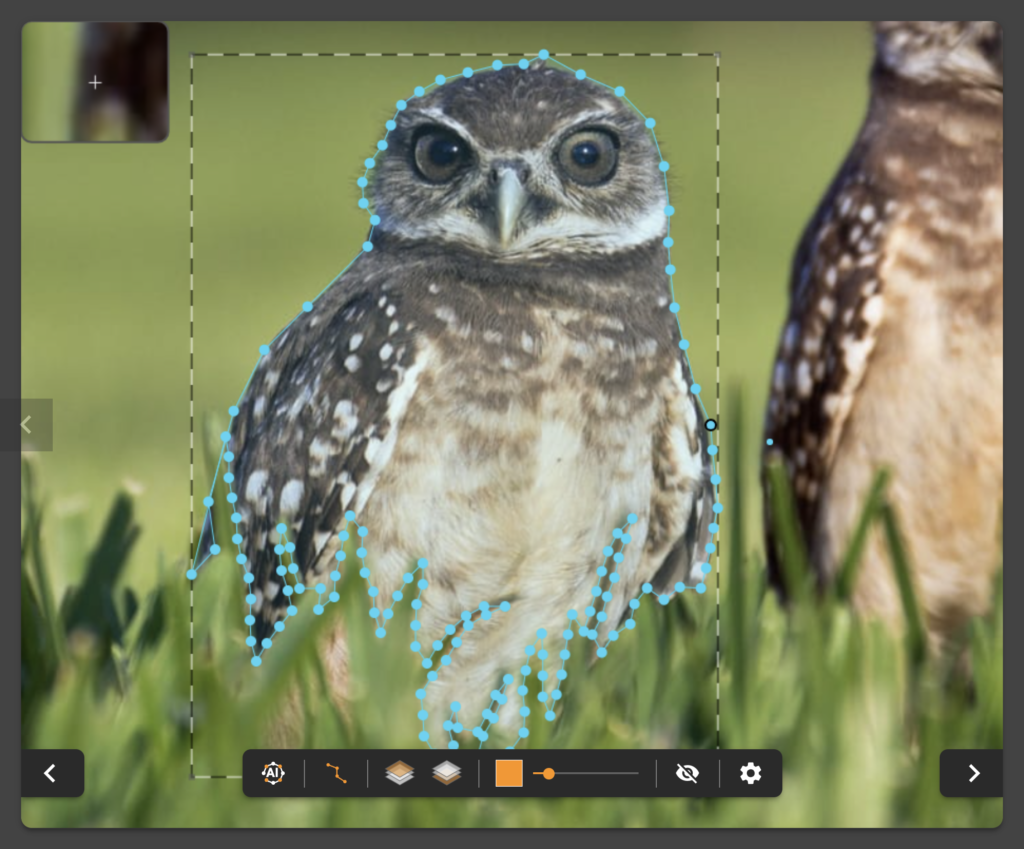
The MaxusAI Label Engine is a powerful annotation tool. This tutorial will give you a basic understanding of the tool’s interface and start your first annotation.
Before you start: Ensure you have a MaxusAI account and authenticate your email.
Start The Annotator
To start the tool first log in to the LabelEngine. After Logging in the Engines home page will appear:
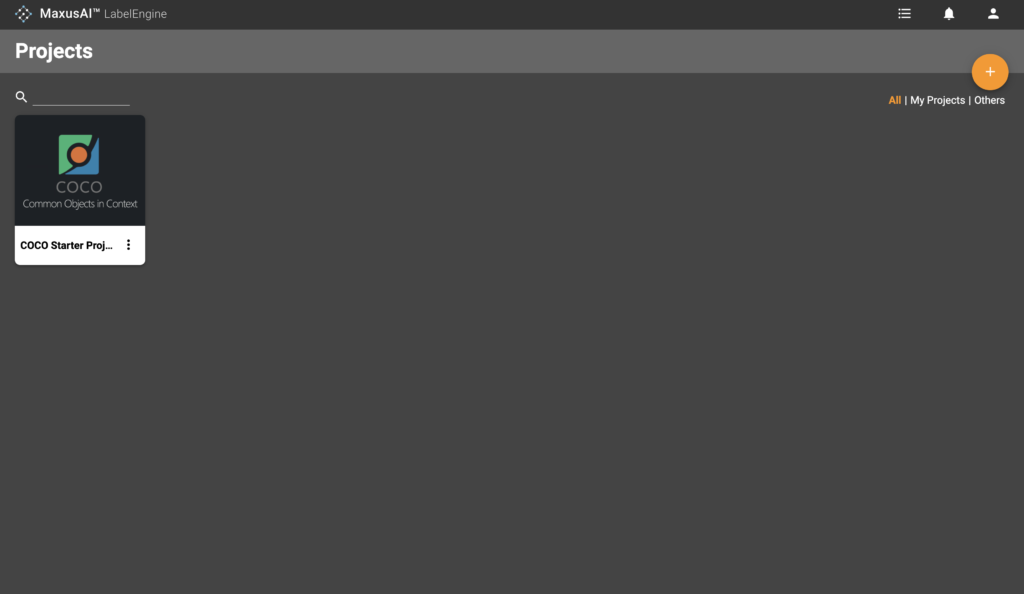
Opening A Project
To begin annotating your images you first need a project. A project is used to manage images and annotations from a dataset.
There are three ways to get started with a project.
- Start by using the COCO Demo project. This Project is imported directly from the standardised COCO dataset and has already been prepared with a label map and supporting model. To start annotating simply click on the projects thumbnail on the homepage.
- Create your own project. Click the orange ‘+’ sign in the top right of the home page. Through this method you can create a custom annotation environment/label-map. For more information on Project Set-up follow the tutorial
- Join a Team Project. To start working with a team project follow the tutorial
You will now see the following screen
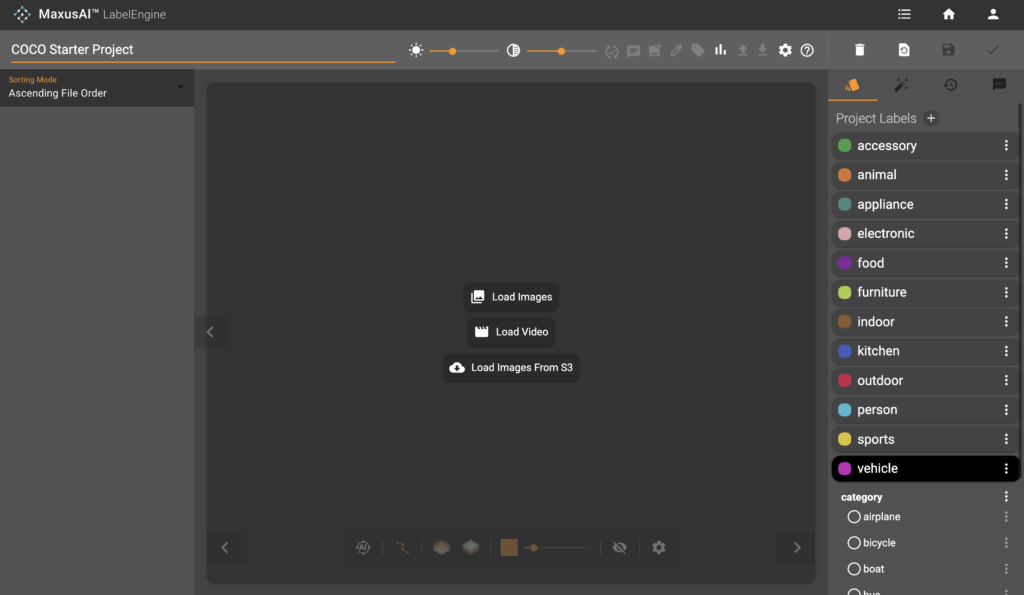
Once you have entered a project now it is time to load images!
Loading Images
There are 3 options to load images as seen in the centre of this screen. This tutorial follows loading images from your local device. To learn more about loading from video or from a S3 Bucket follow their respective tutorial.
Click ‘Load Images’ and select images from your device you wish to load into the engine
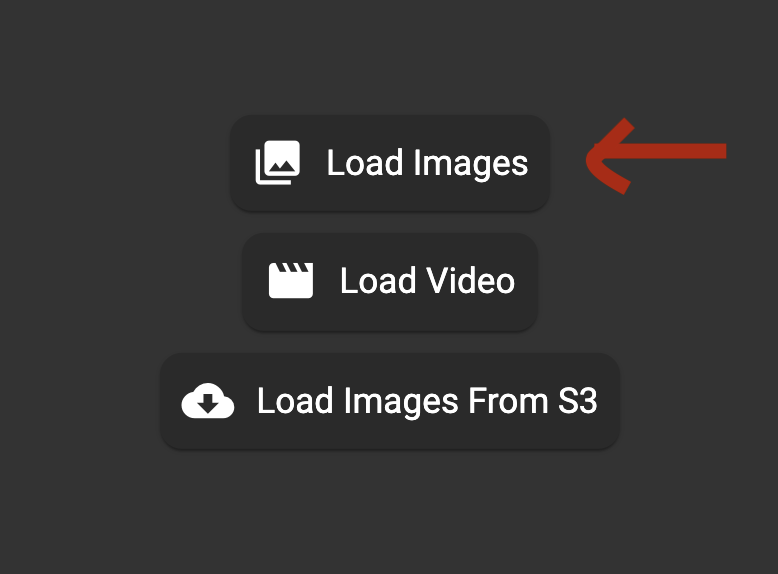
Once Images have been loaded into the tool you will see them appear on the left panel of the screen as seen below
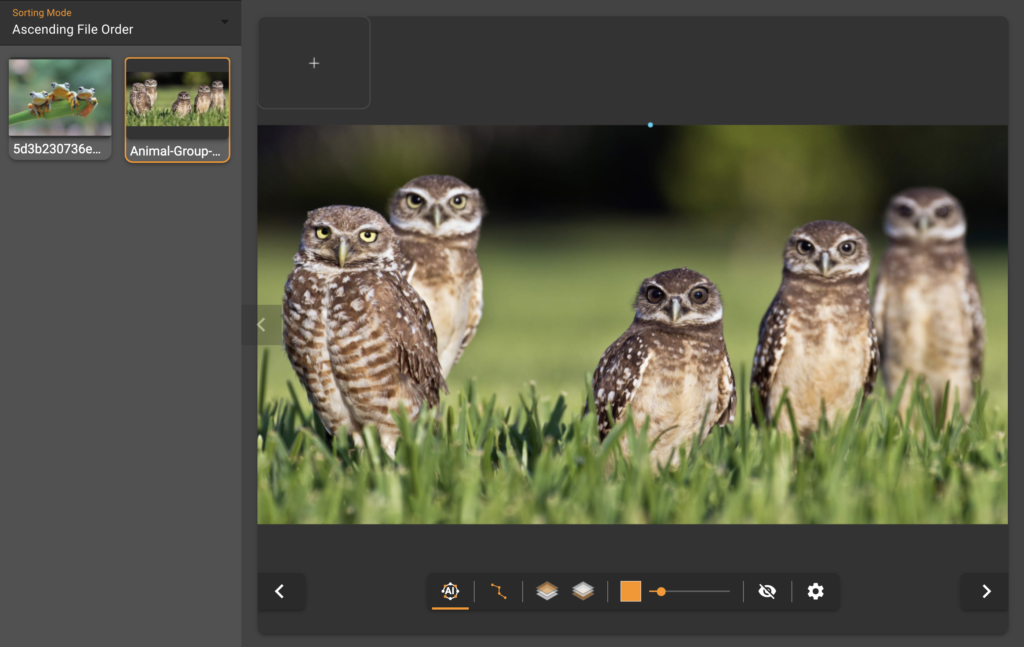
Start Annotating
The best practice to begin an annotation using the MaxusAI LabelEngine is to begin an annotation by clicking ‘spacebar’ on the keyboard, then click the left mouse button to add points to the polygon until. completing the polygon by clicking ‘spacebar’.
Polygons can be started by simply clicking on the screen but this method may clash when creating overlapping polygons.
For more tips on creating annotations see the following annotation tutorial
